Potting an amaryllis is easy. You can find easy, step-by-step instructions in our article How to Plant Amaryllis Bulbs in Pots. Caring for an amaryllis plant is also easy. To bring a bulb into bloom, all you need to provide is light and water. Then we have a few other tips to help you have a healthy, long-blooming plant. Take a look.
Provide Sunlight or Bright Lights
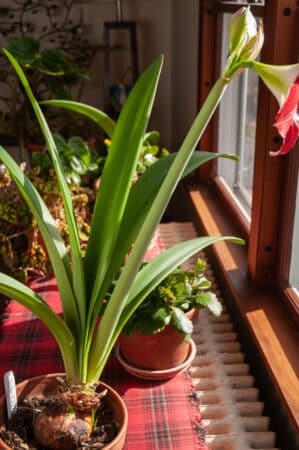
Amaryllises, like all plants, need light. This is the most essential part of caring for an amaryllis plant. After potting a bulb, set the pot in a window, ideally one that faces south or west. Proximity to the glass is important. The intensity of the light falls off rapidly as distance from the window increases. Set the pot as close to the window as possible.
Amaryllis flower stems typically emerge before the leaves, and as they stretch upwards, they tend to lean toward the light. This phenomenon, which occurs in all plants, is called phototropism. To have a straight stem and reduce the need for staking (see below), rotate the pot so that the stem leans away from the window. While the stem is elongating, you may need to rotate the pot every day or two to combat phototropism.
Water with Care
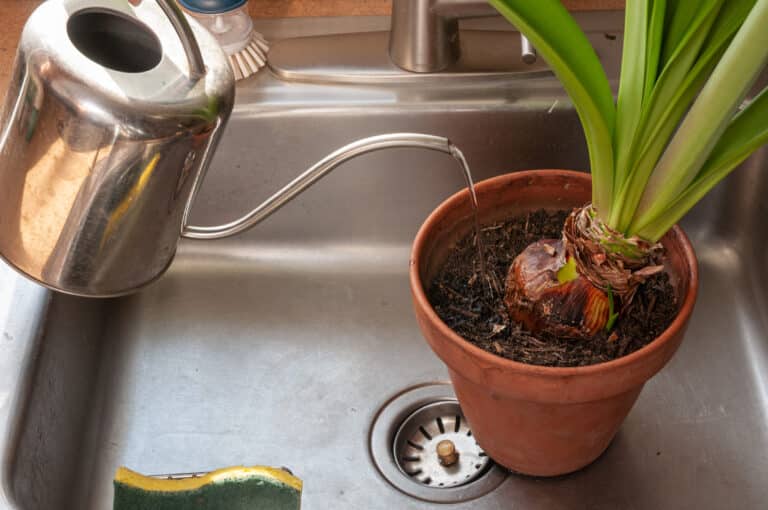
Amaryllises are not thirsty plants. Immediately after potting a bulb, water thoroughly. Thereafter, water very sparingly until you see the tip of new growth appear at the top of the bulb. Water is necessary for growth but does not speed growth. If given too much water, especially before a flower stem emerges, a bulb may rot. Once growth is under way, you can increase the amount of water you give a bulb, but you still need to avoid overwatering. A good rule of thumb: Water only when the top 1/2 inch of the potting mix is dry to the touch.
When you do water, water thoroughly. The best way to water is to carry the pot and its saucer to a sink. Set the saucer aside and place the pot in the sink. Add water until it begins to drain from the bottom of the pot. Leave the pot in the sink until the excess water drains away. Set the pot back in its saucer and return it to its place by a window.
Hold the Fertilizer Until Blooms
When you receive your bulb, the flowers are already inside (in embryonic form), and the nutrients required for the bulb to bloom are also inside. So there is no need to fertilize until after a bulb finishes flowering. And if you don’t intend to keep the bulb after it flowers, there is no need to fertilize at all.
Speed Up Growth
Amaryllises can be slow to start growing. They may show no signs of life for several weeks after potting. Paradoxically, the earlier a bulb is potted, the longer the bulb may take to start growing. A bulb potted in early November may wait a month to get started. A bulb of the same variety potted in December may get going in 2–3 weeks.
The only way to speed up growth is to increase the temperature around the bulb. (As noted above, watering more frequently will not speed growth.) You can raise your thermostat, but that would be expensive and potentially uncomfortable. The better solution is to set the pot on a radiator or next to a heat register. (An amaryllis bulb needs little or no light until it starts to grow.) The best solution of all: Be patient. As long as the bulb is firm, it will eventually grow and flower.
Stake If Necessary

Amaryllises have a tendency to topple. That’s not surprising when you consider the size of the flowers and their lofty perch. On top of that, the bulbs are often slow to make new roots. The old roots, if present, may be able to take up water, but they are not able to anchor the bulb in the potting mix. Finally, the bulb shrinks as it produces flower stems and (eventually) foliage, causing the bulb to pull away from the potting mix.
When you see that a stem laden with flowers is leaning, you should consider providing support. A bamboo stake and twine will do the trick; any variation on this theme will serve. You can also roll the dice and rotate the pot in the hope that the stem will right itself by leaning toward the light. If you gamble and lose, you will have a mess on your hands, and the flowers you were enjoying will likely be destroyed.
Remove Faded Blooms
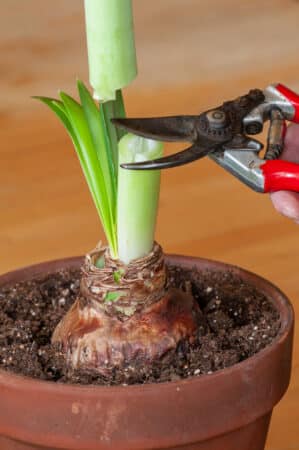
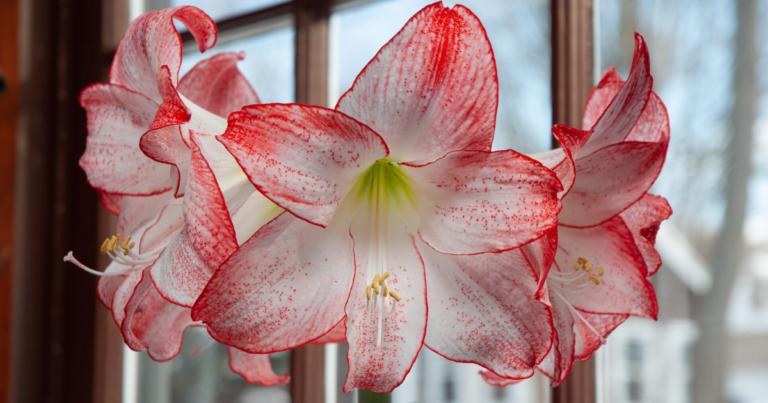
Deadheading is gardener speak for removing spent flowers. Deadheading is done to prevent self-sowing (not an issue indoors; without an insect pollinator, amaryllises will not set seed) or for aesthetics: spent flowers are rarely attractive. Amaryllis flowers typically open in pairs. In a cluster of four, two flowers (opposite each other) will open first. The second pair will follow closely behind. You can deadhead as each pair fades, or you can wait for the entire cluster to wither.
An amaryllis stem will occasionally produce five or even six flowers. The fifth and sixth flowers generally don’t open until the other flowers on the stem have faded. In such cases, progressive deadheading is recommended. Remove the first four flowers when they fade so that they don’t detract from the beauty of the last flower (or two).
After all of the flowers on a stem have faded, cut the stem 3–4 inches above the top of the bulb. Do not cut any leaves (if present) in the process. The stump will soon dry up and shrink to almost nothing.
When the bulb has finished flowering, you have two options. You can discard the bulb, preferably on the compost pile if you have one. You can also continue to grow the bulb to see if you can get it to bloom again the following winter. If you go this route, you will need to put the bulb outdoors for summer. See Getting an Amaryllis to Flower Again.

