Planting bulbs in the fall is one of the best ways to ensure a beautiful spring garden. Whether you’re learning how to plant tulip bulbs or planning to grow daffodils, allium, or hyacinths, there are three main techniques to get the job done: poke, drill, and trench. The best method for you depends on factors like how many bulbs you’re planting, your garden layout, and your comfort with different tools. Each approach has its own perks, so let’s explore which might be right for your next planting session!
Use the Poke Method for Key Placement
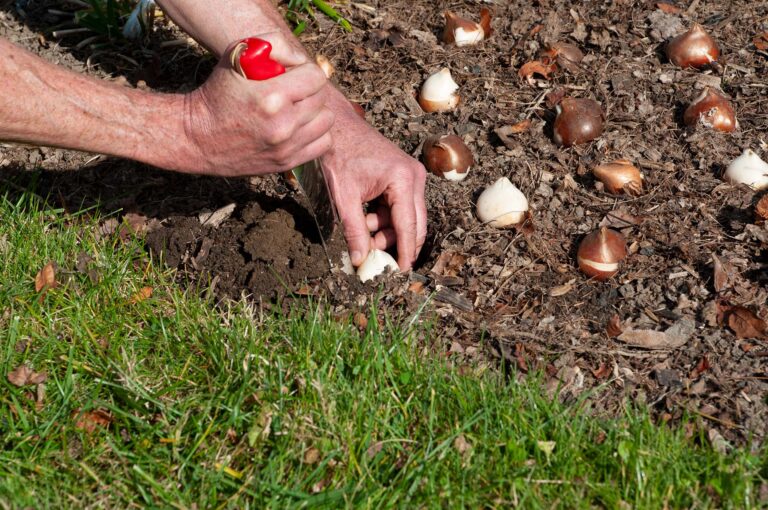
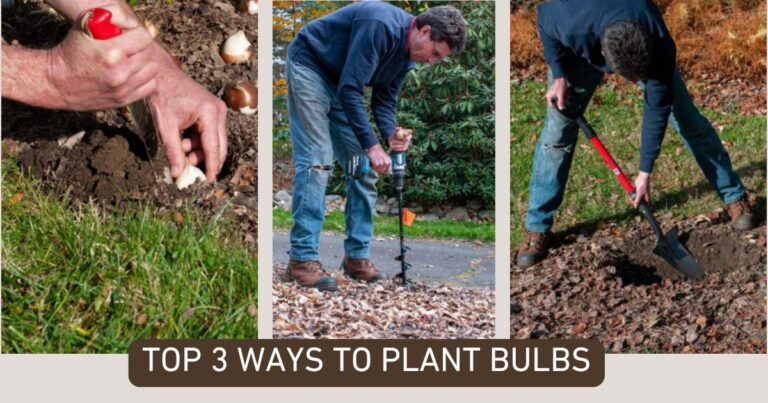
A “poke” approach to planting bulbs is a simple way to get started if you’re learning how to plant tulip bulbs or other fall bulbs. This method involves creating a small hole in the soil and dropping in one bulb. With smaller flower species, you can plant two or more bulbs in one hole.
You can use any small garden trowel or garden knife (like a Hori-Hori) to dig the hole. There are also many specialized tools to help make planting bulbs easier. These tools include dibbers, daffodil trowels, tulip trowels, and step-on planters that allow gardeners to use a foot and leverage their body weight to dig each hole.
Planting one bulb at a time can be less disruptive in established landscapes, and allows you to work bulbs into beds around shrubs and other more mature plants. It’s also ideal for creating smaller groupings of blooms for a cottage garden style. However, this approach can be time consuming if you want to plant a large number of bulbs in a concentrated area.
Use the Drill Method for Fast Planting
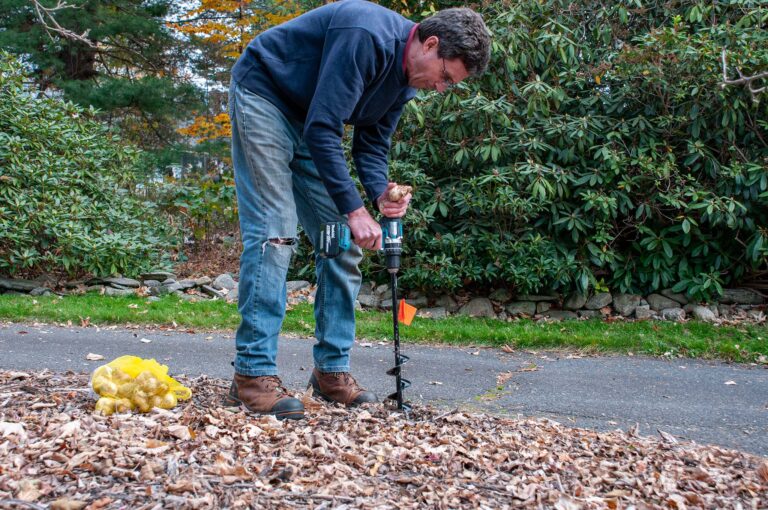
A drill with a bulb auger attachment makes quick work of digging holes. Some bulb augers have a long neck, allowing you to stand and walk as you drill. Other models are short and designed to be used while kneeling. Before buying an auger, be sure to check the manufacturer’s description to make sure it’s compatible with your drill. The bulb auger that Colorblends sells works best with variable-speed hammer drills.
Using a drill can work well for planting in sod, or planting across a large area. Be sure the planting area is free from rocks. Many landscaping professionals prefer this method. With a two-person team—one person to drill and the other to drop in bulbs—this can be an especially efficient. You’ll be able to plant a large number of bulbs really quickly.
This technique is not ideal for those who aren’t comfortable with power tools. If you don’t have a cordless drill, you’ll also want to make sure you have access to a power outlet and enough heavy-duty extension cord to reach the desired planting area. If you have an irrigation or lighting system, be very mindful that you know where the lines are before you begin to drill.
Use the Trench Method for Creating Large Colorful Displays
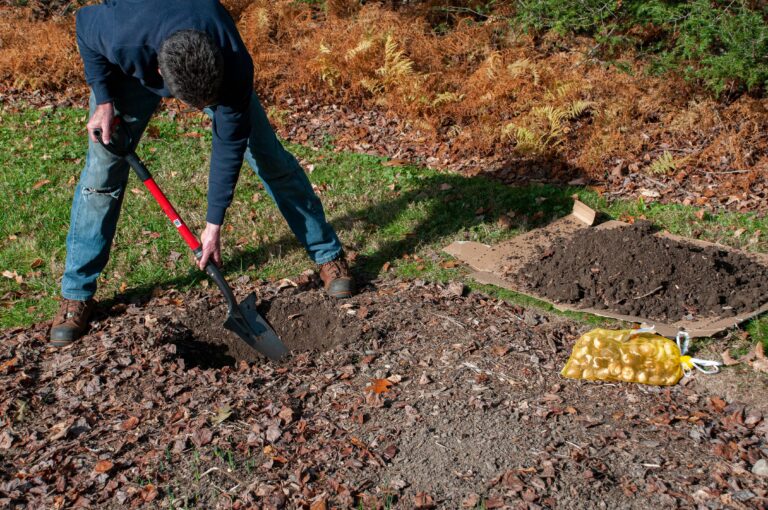
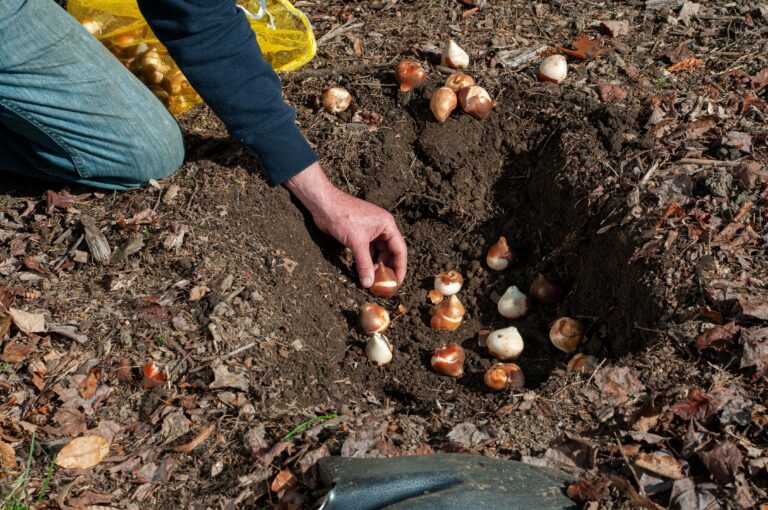
Trenching is an ideal approach for those learning how to plant tulip bulbs and wanting to create a densely blooming bed of spring flowers. Start by loosening the soil and digging a trench to the recommended planting depth. Next, place your bulbs along the bottom of the trench—either in neat rows for a formal, uniform look or spaced more freely for a naturalized effect. Cover the bulbs fully with topsoil, then add a light layer of mulch to prepare for winter. Finally, water the bulbs in well.
See the Poke, Drill, and Trench Method in Action
In the video below, you’ll find step-by-step demonstrations of all three planting techniques—poke, drill, and trench—so you can see each method in action and choose the best approach for your garden.

